
Before You Begin
- Be sure to remove any quarter round molding and inspect the floor surface.
- Replace any damaged boards.
- Countersink all raised nail heads and clean the floor thoroughly to remove any particles that could cause adhesion or finish blemishes.
- If your floor is coated with wax or shellac, it will need to be removed by a chemical stripper and washed before sanding.
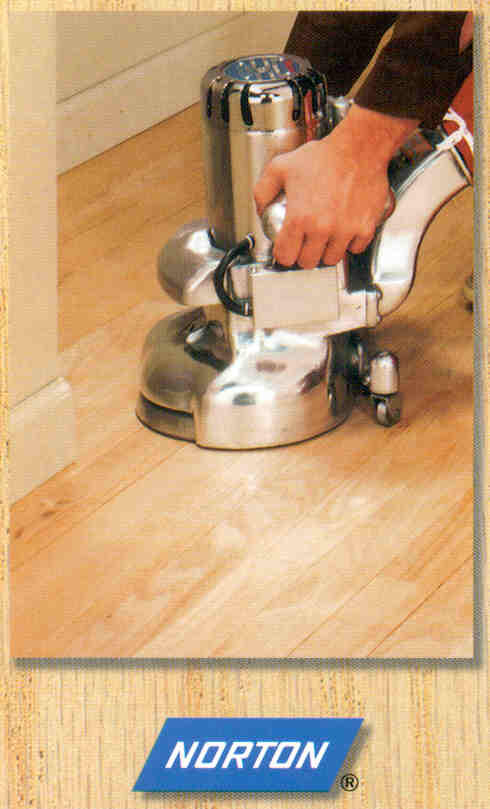
Step 1 - Primary Sanding
New Floors - Even out factory variances of wood thickness - 50 or 60 grit
sanding with the grain of the wood.
Old Floors (Good) - Remove coats of finish and minor imperfections - 36 or
40 grit sanding with the grain of the wood.
Old Floors (Poor) - Remove layers of finish and smooth out warped or
cupped boards - 16 or 24 grit at a 45 degree angle to the grain of the
wood.
Old Floors (maintenance/upkeep) - Remove minor scratches in the finish and
prep the floor for a new coat of sealer - use a buffer machine and mesh
screen - 120 to 220 grit.
Step 2 - Intermediate Sanding
Smooth out the scratches left by the primary sanding step.
It's important to not skip more than one grit when performing the
intermediate sanding step. By skipping too many grits, you will not
sufficiently smooth the scratch marks.
New Floors - 80 grit
Old Floors (Good) - 60 or 80 grit
Old Floors (Poor) - 36 or 40 grit
Step 3 - Finish Sanding
Completely smooth out the coarser grit scratches to begin prepping the floor for the first coat of stain/sealer. All floors should be finished with 100 or 120 grit. Once you have completed the finish sanding step, be sure to fill cracks, gaps, blemishes and nail holes with wood filler for a blemish-free finish.
Step 4 - Screen Sanding
Before applying stain or finish to the wood surface, you need to "screen" the floor to blend the edges of the room with the field of the room. Because the edges are sanded in a circular high-speed fashion with an edger sander, it will absorb more stain or sealer than the field of the room, which is sanded with a straight cutting drum or belt sander. 120 to 220 grit screen is used depending on the color of the stain being applied. You should go coarser (lower numbers) for darker stains to ensure even penetration, and finer (higher numbers) for lighter stains or natural floors.
Step 5 - Between Coats Sanding
After each coat of stain and/or finish, sand the floor to remove the raised wood fibers and dust particles that come to the surface. At this stage, all abrasive products are very fine in grit range and are designed to remove minimal amounts of finish to properly prepare the floor to accept the next coat.
This tutorial has been provided by Norton Abrasives. For more information about Norton's abrasive products and accessories as well as other floor sanding supplies call us at (847) 967-9585 or contact us.